 Ahhh..... Valentine's Day. I'm such a sucker for love. I'm all about sappy love movies and happy endings. I just can't help myself. Money-sucking-made-up-holiday? Nah, I'm pro-Valentine's Day all the way! We've never been big, fancy gift givers anyway, so Valentine's Day isn't much different. But, a simple card with a sweet message or teddy bear with a balloon attached and I'm putty in your hands. It doesn't take much to impress me- just a simple gesture. When I had my bakery open Valentines' Day was insane! The money just rolled in and people spent mega bucks on sweet treats for their kid's, friends, and loved ones. It was actually a little insane. But who am I to complain? It was one- just about- the only times we did pretty well in the bakery business. The treats that we made were all so very simple: cupcakes with cute toppers, chocolate covered strawberries, (chocolate covered EVERYTHING really...Oreos, cookies, candies...anything that wasn't tied down.) And cake pops were a pretty big deal. Now that my bakery is closed I can let out the secret: These things are so easy to make! And extremely inexpensive (as long as you're making them at home. The overhead is a pain.) So, skip the bakery, stay home and make the sweet treats yourself. Plus, I guarantee they will be so much more appreciated and so will your wallet! 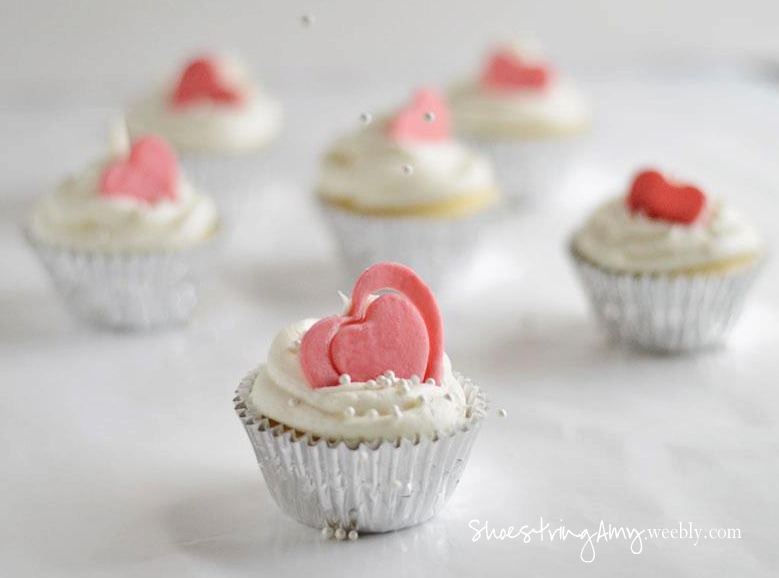 My favorite vanilla cake recipe: INGREDIENTS:
DIRECTIONS:
Peace, Love, and sweet treats! 
1 Comment
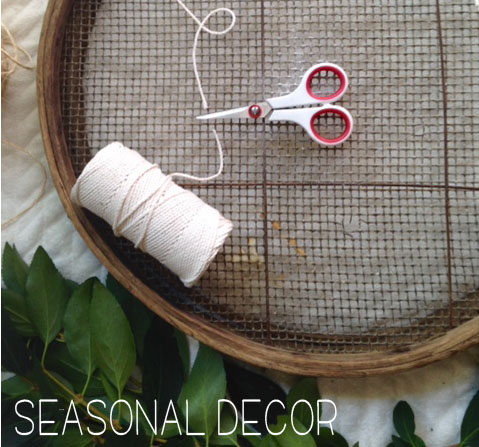
Mr. & Mrs. seems to be all the rage these days (I crack my self when I say things like that. Sometimes I shock myself at how "mom" I am.... "all the rage these days." who still say that?) Wedding gifts, towels, pillow cases, and artwork; I've seen Mr. & Mrs. printed on just about everything! Now, You know I love a good deal. And when something becomes a trend, there's usually no deal to be found. Plus, I like to mix my designs up a bit and go for something a little less traditional. We're country folk out here in Kentucky (said with my very best southern accent.) So, you know we're hunters.... well, my husband is anyway.What better way to represent us than as a buck and a doe. Awe...isn't that just adorable. 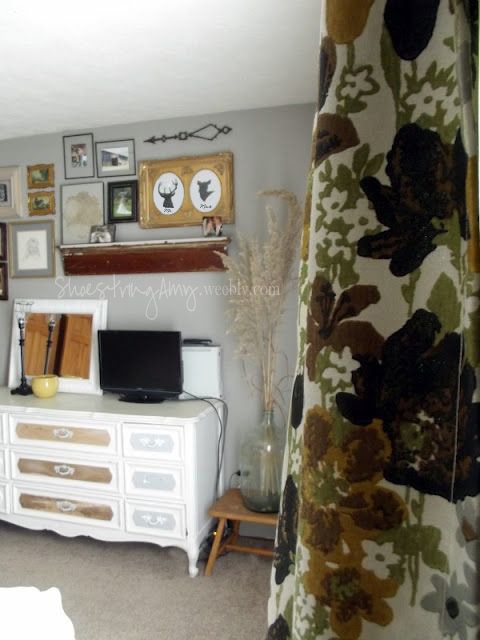 Budget DIY decor isn't my favorite because it's cheap, but because it's so duh-easy. Yeah, duh-easy. I said it. My favorite art pieces tend to be ones that require very little thought. DIY Mr. & Mrs. silhouette artwork 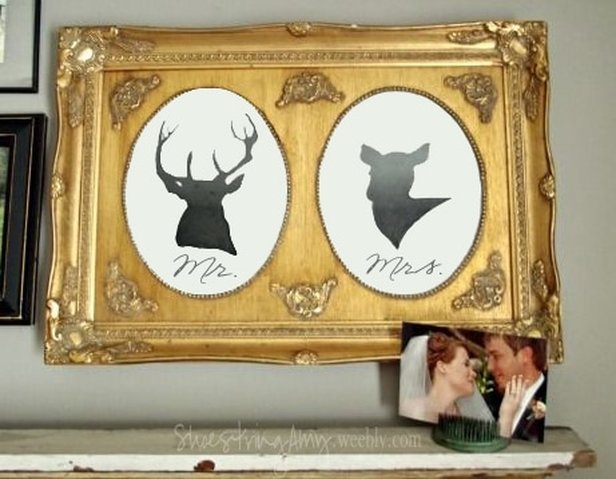 Daw. Look at me and the hubby. Aren't we so cute. Crazy to believe our wedding day was 8 years ago! Need:
Process:
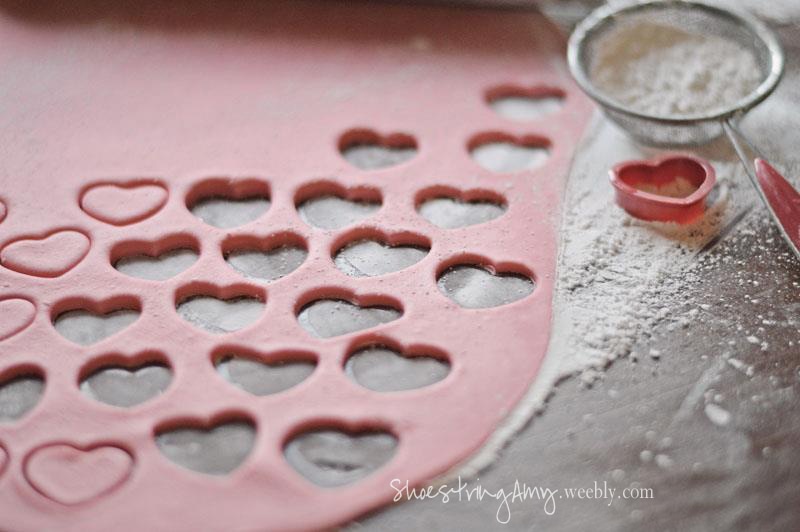
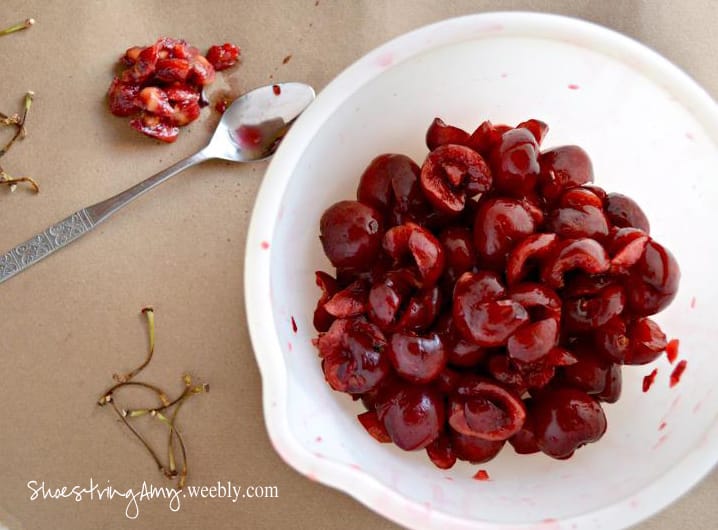
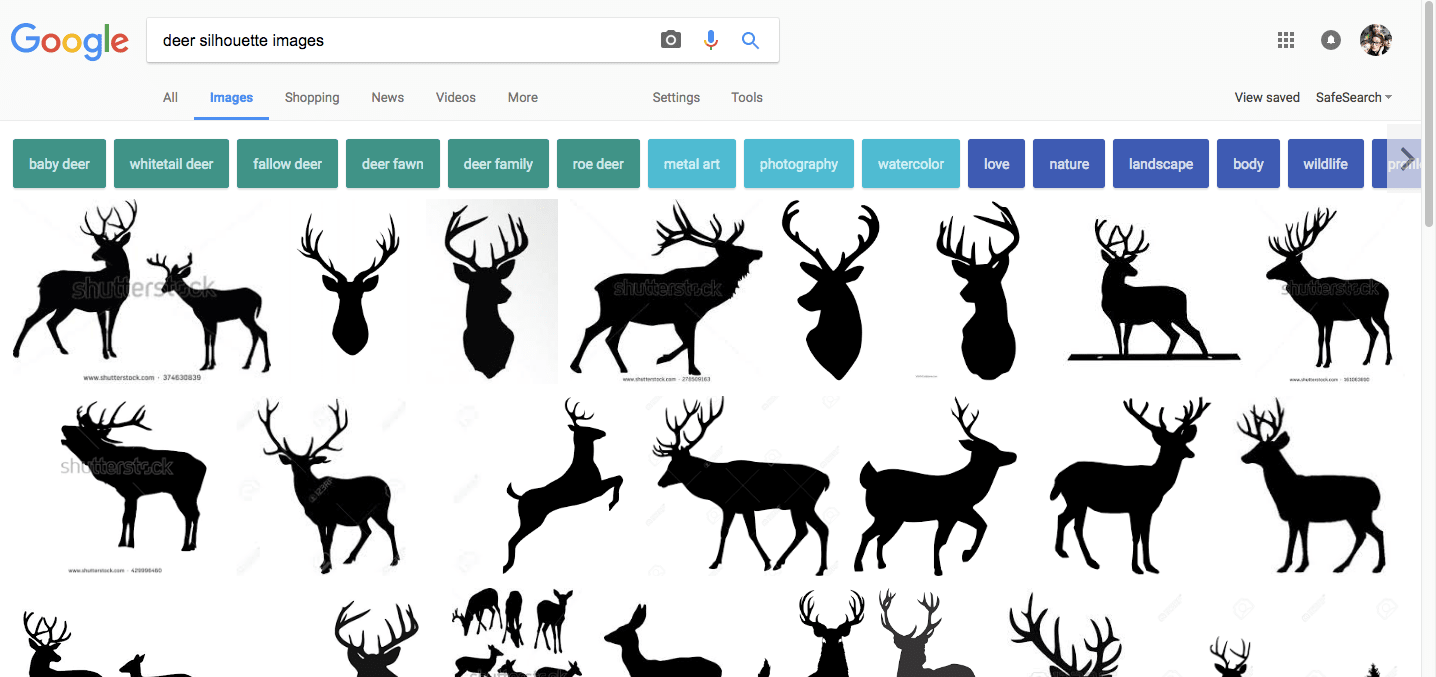 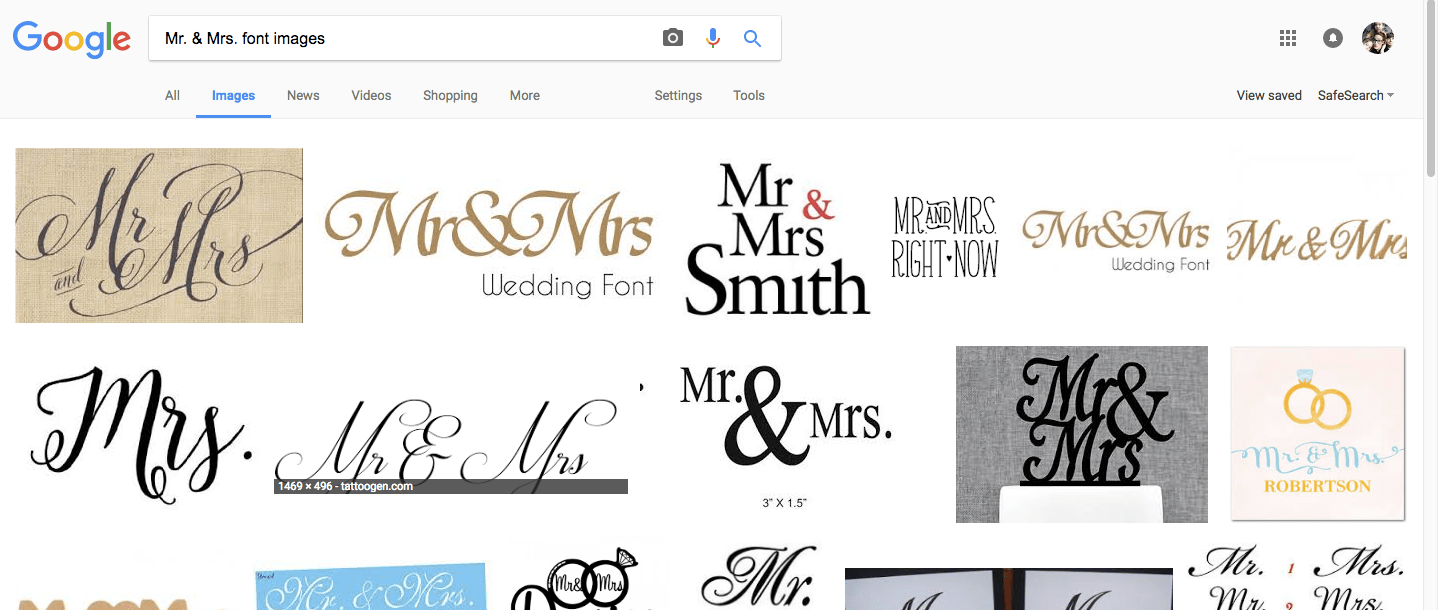 2. Find your favorite images and fonts; Print. (Be sure to customize the size on print preview to make sure it will fit on a standard sized sheet of paper.) 3. Cut images and fonts out and arrange them on a seperate sheet of printer paper; tape in place. (This will be your worksheet.) 4. Lay your final sheet of paper over top your worksheet; use sharpe to trace sillhouette and font. 5. Frame your maserpiece. 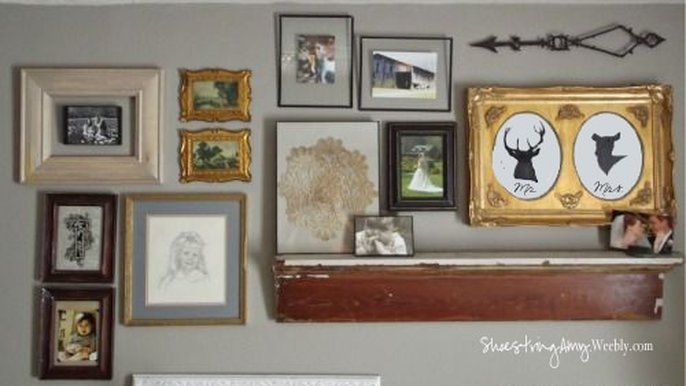 ____________________________________________________________________________________ 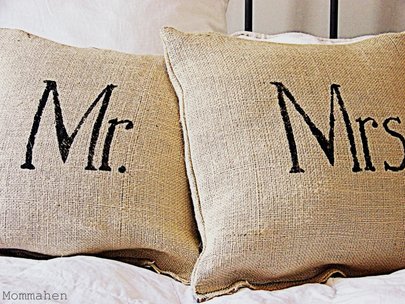 Bonus DIY: Use a paint pen, sharpie, or fabric paint to simply add text to your pillows! ____________________________________________________________________________________ I mean, seriously, duh-easy right? It can't get any easier than that! And it's so cute. You could play around with some different frames, paint/marker colors, and good quality papers. Easy-peasy-lemon-squeezy. What do you think? Peace, Love, and art!  b Happy New year! I hope you guys are all doing well and feel rejuivinated and refreshed in this brand new, clean slate 2017. Can you guys believe my little ol' blog is a year old? I feel like we should celebrate! I don't know if you guys are keeping up over on the Essence side of the blog, but I'm over there keeping a daily diary of my Daniel Fast. It's been....Interesting so far. Since I'm over there talking about fruits, veggies, and water; How about we talk about the good stuff over here. Valentine's Day is just around the corner! I don't know why, but I just love Valentine's Day. Even if it is a made up "holiday." And I realize we should be showing each other love every day of the year, not just one day. However, any day where you can put up decorations and celebrate; Why not. This is a little recipe that I did a long time ago on another blog that I used to write for (Read about that here) I never was much of a cherry fan. Until I actually tried them. Duh. I'm usually the first to try something new. You know when I think of cherries, I think of the little blob they mindlessly throw ontop of icecream. yuck. Apparently, that's not exactly what a fresh cherry tastes like. 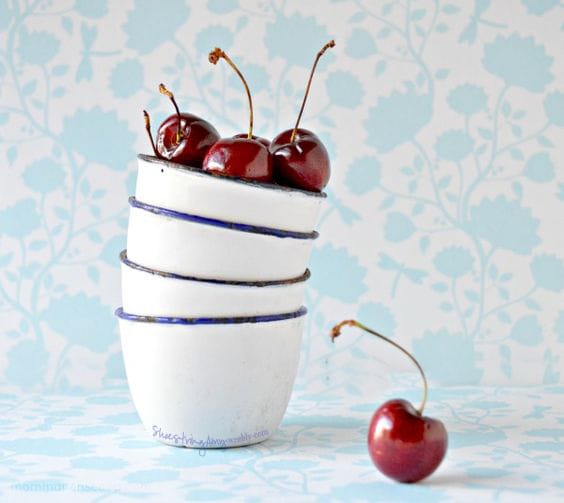 Do you agree? Maybe there are people out there that like the little jelatinous blob garnishes. Not I! These fresh cherries were much, much more delicious. Plus, how can you go wrong when you tuck them inside a little heart shaped dough. Adorable. 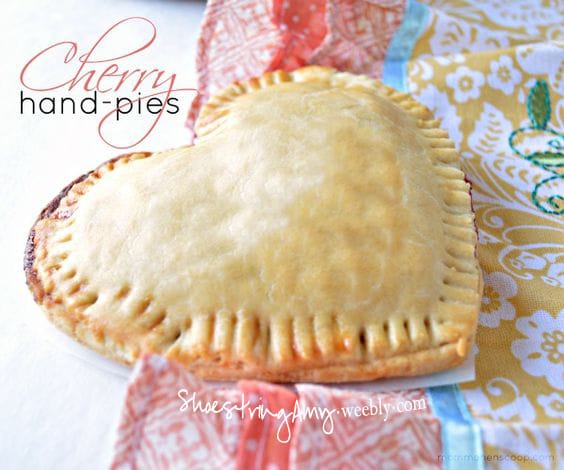 Homemade Cherry Handpies Recipe to share with your sweat heart Ingredients-
 Instructions-
See more of my recipes HERE Peace, love, and pie!  |
Enter e-mail address below to get notified of new blog posts via e-mail!

About Me:Shoestring Amy is a free-spirited momma. With a family of five comes an active lifestyle full of energy. Amy strives for a lifetime of fun, laughter, and memories. Rather than smothering in debt, working for "things," and walking the same ol' line of misery created by a dead end job, she creates much larger goals. CONTINUE READING.... 


Categories
All
Posts from the past:
January 2017
|
 RSS Feed
